Nothing compares to the aroma of freshly baked sandwich bread straight from the oven! Soft, fluffy, and with the perfect golden crust, this homemade bread is ideal for sandwiches, toast, or just enjoying with a pat of butter.
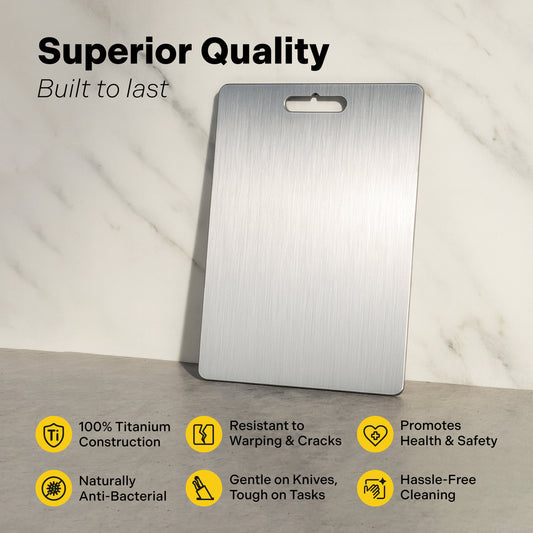
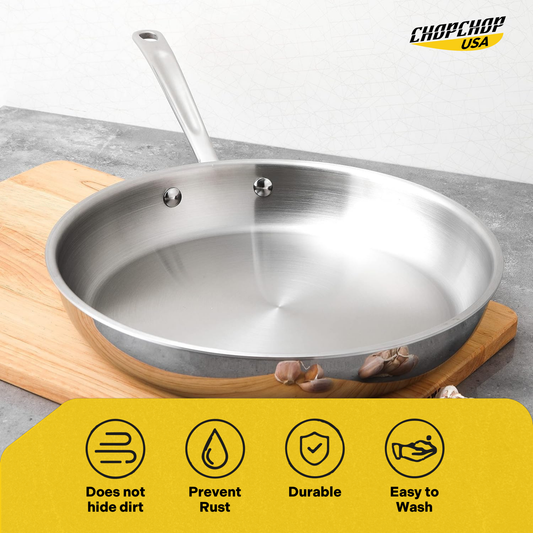
With ChopChop USA’s premium kitchen tools, bread-making becomes effortless. From the Titanium Cutting Board for clean slicing to the Double-Sized Stainless Steel Cutting Board for prepping ingredients with ease, every step is smoother. Whether you're an experienced baker or a beginner, this simple recipe will give you bakery-quality bread right in your own kitchen!
What You’ll Love About This Sandwich Bread
- Soft & Fluffy Texture – Perfectly light, tender, and just the right amount of chewiness.
- Simple Ingredients – Made with pantry staples—no preservatives or artificial additives.
- Beginner-Friendly – Easy to follow, even if you’ve never baked bread before.
- Versatile Uses – Ideal for sandwiches, toast, grilled cheese, or even French toast.
- Better Than Store-Bought – Freshly baked, homemade goodness with unbeatable flavor.
- Customizable – Add seeds, herbs, or whole wheat flour to make it your own.
- Pairs Well with Everything – From sweet spreads to savory toppings, this bread is a staple for any meal!
Ingredients

- 1 cup (240ml) warm water, about 110°F (43°C)
- 1/4 cup (60ml) warm whole milk, about 110°F (43°C)
- 2 and 1/4 teaspoons (7g) instant yeast (1 standard packet)
- 2 Tablespoons (25g) granulated sugar
- 4 Tablespoons (1/4 cup; 56g) unsalted butter, softened
- 1 and 1/2 teaspoons salt
- 3 and 1/3 cups (420–430g) bread flour or all-purpose flour
How to Make Sandwich Bread

Step 1: Activate the Yeast
In a large mixing bowl, combine the warm water, warm milk, sugar, and instant yeast. Stir gently and let the mixture sit for about 5–10 minutes until it becomes frothy. This step ensures the yeast is active, which is essential for a perfect rise.
Step 2: Mix the Dough
Add the softened butter and salt to the yeast mixture. Gradually add the flour, stirring continuously. Once the dough begins to form, transfer it to a lightly floured surface and knead for about 8–10 minutes, until it becomes smooth and elastic. For precise measurements and mess-free prep, use ChopChop USA’s Double-Sized Stainless Steel Cutting Board.
Step 3: Let the Dough Rise
Place the dough in a lightly greased bowl, cover it with a clean towel, and let it rise in a warm place for about 1–2 hours, or until it has doubled in size. The Anti-Slip Silicone Mat from ChopChop USA is great for keeping your prep area secure while working with dough.
Step 4: Shape & Second Rise
Once risen, punch down the dough to release air bubbles. Shape it into a loaf and place it in a greased 9x5-inch loaf pan. Cover and let it rise again for about 45 minutes, or until it reaches just above the pan’s rim.
Step 5: Bake to Perfection
Preheat the oven to 375°F (190°C). Bake the bread for 25–30 minutes, until the top is golden brown and sounds hollow when tapped. If the top browns too quickly, loosely cover it with foil during the last 10 minutes.
Step 6: Cool & Serve
Remove the bread from the oven and let it cool in the pan for 5 minutes before transferring it to a wire rack. Use ChopChop USA’s High-Quality Chef’s Knife for clean, even slices. Serve warm with butter or use for your favorite sandwiches!
Tips for the Best Sandwich Bread
- Use Fresh Yeast – Always check the expiration date on your yeast. If the yeast doesn’t foam during activation, it may be expired or inactive.
- Measure Your Flour Correctly – Spoon and level the flour instead of scooping it directly from the bag to avoid using too much. This ensures a soft and fluffy loaf.
- Knead Properly – Kneading helps develop gluten, which gives bread its structure. If you press the dough with your finger and it springs back, it’s ready.
- Check for Doneness – A fully baked loaf will have a golden crust and sound hollow when tapped on the bottom. If unsure, use a kitchen thermometer—the internal temperature should be 190°F (88°C).
- Let the Bread Cool Completely – Slicing too soon can make the bread gummy. Allow it to cool for at least 30 minutes before cutting into it.
Make-Ahead, Storage & Freezing Tips
- Storing at Room Temperature – Keep the bread in an airtight container or a bread box for up to 3–4 days. Avoid storing it in the fridge, as this can dry it out.
- Freezing Instructions – Wrap the entire loaf or individual slices tightly in plastic wrap, then place in a freezer bag. Freeze for up to 3 months. Thaw at room temperature or toast slices directly from the freezer.
- Reheating for Freshness – If your bread starts to feel slightly dry, warm it in the oven at 300°F (150°C) for 5–10 minutes to restore its softness.
Variations to Try
- Whole Wheat Sandwich Bread – Substitute half of the all-purpose flour with whole wheat flour for a heartier texture.
- Honey Wheat Bread – Swap the sugar for honey and use whole wheat flour for a naturally sweet and wholesome loaf.
- Garlic Herb Bread – Mix 1 teaspoon garlic powder and 1 tablespoon dried herbs into the dough for a flavorful twist.
- Seeded Sandwich Bread – Add 2 tablespoons of sesame, sunflower, or flax seeds to the dough for extra crunch and nutrition.
Pair This Sandwich Bread With:
- Classic Grilled Cheese – Melty, gooey, and toasted to perfection.
- Homemade Peanut Butter & Jelly – A childhood favorite with fresh, soft bread.
- Avocado Toast – Top with mashed avocado, salt, and red pepper flakes.
- Egg & Cheese Breakfast Sandwich – The perfect way to start your morning.
- Soup Sidekick – Perfect for dipping in tomato soup or creamy chowder.
More Bread Recipes to Try:
Introduce ChopChop USA

Elevate your bread-making experience with ChopChop USA’s premium kitchen tools:
- Titanium Cutting Board – Lightweight, scratch-resistant, and ultra-durable.
- Double-Sized Stainless Steel Cutting Board – Ideal for kneading and shaping dough.
- High-Quality Chef’s Knife – Razor-sharp for smooth, even slices of freshly baked bread.
- Peeler & Utensils – Versatile tools to make kitchen prep seamless.
- Anti-Slip Silicone Mat – Ensures stability while working with dough.
Upgrade your kitchen with ChopChop USA—where quality meets innovation!
Conclusion
Making your own homemade sandwich bread is easier than you think! With just a few basic ingredients and the right techniques, you’ll have a soft, fluffy loaf that’s better than store-bought. Whether you’re using it for toast, sandwiches, or just enjoying a warm slice with butter, this bread will quickly become a staple in your kitchen.
Want to make your bread-making process even smoother? Try ChopChop USA’s premium kitchen tools for a hassle-free experience!
For more amazing recipes, follow me on Facebook and Instagram! If you have any questions about ChopChop USA's products or promotions, please feel free to contact us at support@chopchopusa.com. Our dedicated team is available 24/7 and always happy to assist you.
FAQs
1. Can I use active dry yeast instead of instant yeast?
Yes! Just dissolve active dry yeast in warm water with sugar and let it sit for 10 minutes before adding the other ingredients.
2. Why didn’t my bread rise properly?
Your yeast may be expired, or the dough may have been placed in a cold environment. Make sure the yeast is active and let the dough rise in a warm spot.
3. Can I make this bread without dairy?
Absolutely! Substitute almond or oat milk for whole milk and use vegan butter for a dairy-free version.
4. How do I get a softer crust?
Brush the warm loaf with melted butter right after baking to keep the crust tender.
5. Can I knead the dough in a stand mixer?
Yes! Use the dough hook attachment and knead on medium speed for about 6–8 minutes until the dough is smooth and elastic.